In Article I’ll show you how to create a module in Sitecore using JSS and NextJS. For who is not familiar with this topics. I explain a little bit in my previous blogpost.
Prepare your environment
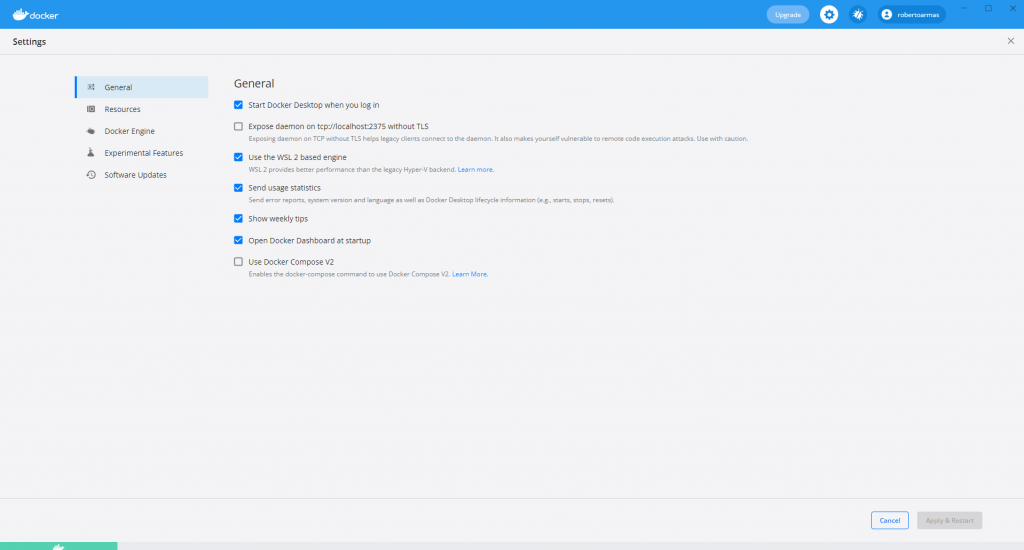
Before create a new component, you need to connect your Sitecore website with JSS front end project. The easy solution is using Docker and create a new project based on sitecore.nextjs.gettingstarted template.
If you don’t want to use docker you need to ensure that you have installed Sitecore Headless Services (formally the JSS Server Components).
Create a Json Rendering
Json Rendering let you create a rendering which connects to your React Module. First, you need to create your Json Rendering for this example, I’ll create a "Blue Box" component.
Template: /sitecore/templates/Foundation/JavaScript Services/Json Rendering
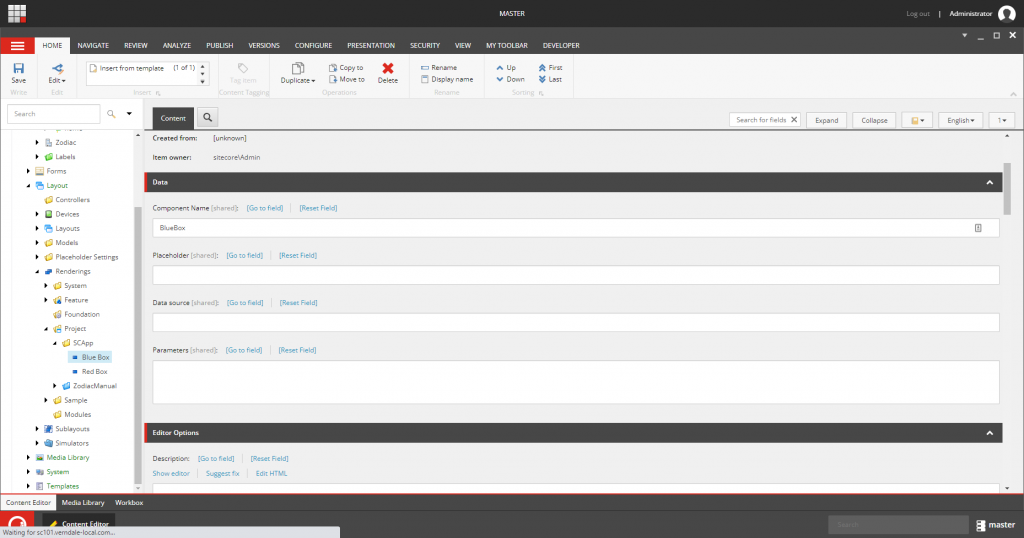
In experience editor, to allow content authors the ability to select the new component you can added in the placeholder settings as a normal component in Sitecore.
In your Front End Solution (NextJS Solution), you can add a new file /src/components/BlueBox.tsx, we can create the component as React Functional Component.
To import assets or styles you can use import statement and create your modular style file like [Module-Name].module.css.
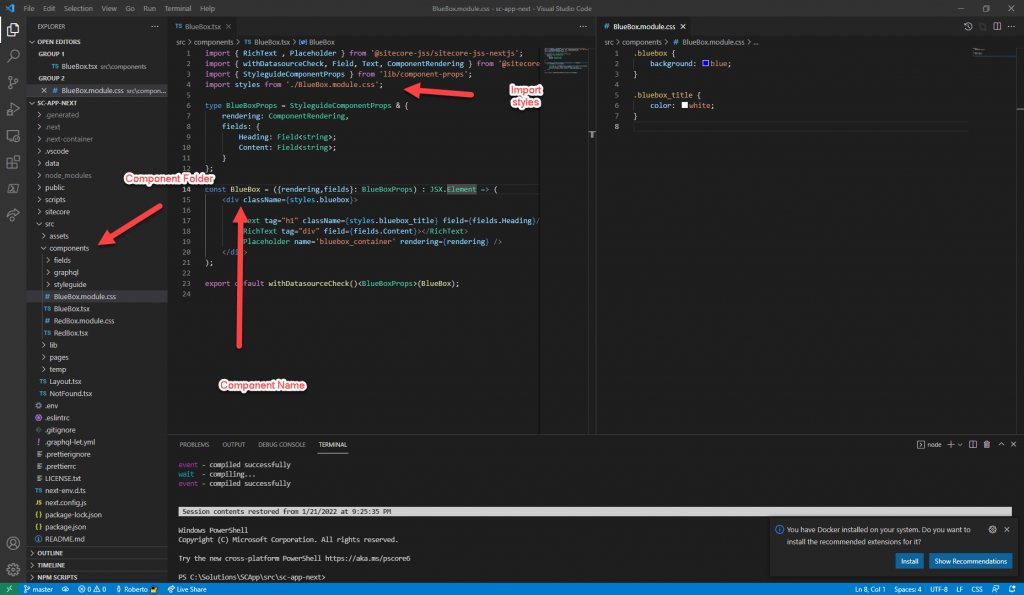
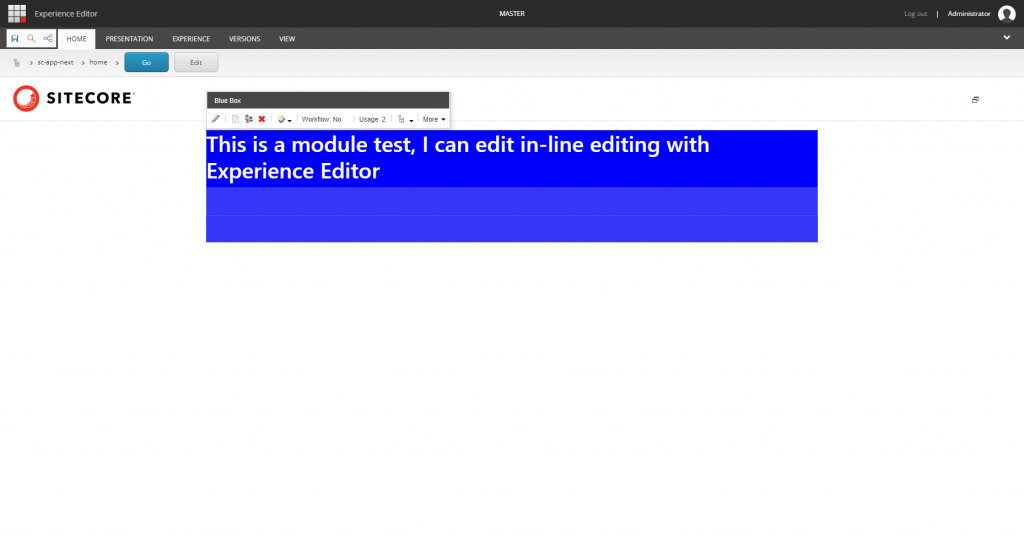
In order to support inline-editing through experience editor you can use the Text component which is part of '@sitecore-jss/sitecore-jss-react' library.
Do not forget to start your Front-End server with jss start.
If you want to ensure that Data Source is not empty you can use the withDataSourceCheck() hook
Finally, you can add the rendering in your JSS Application Route Page and you are ready to go. Stay tuned and I will enter in details using Placeholders in JSS Application.
